Chapter 5: Offloading operations with YugabyteDB Aeon
YugaPlus - Offloading Operations
YugaPlus has become one of the top streaming platforms, with hundreds of millions of people around the world spending countless hours watching their favorite movies, series, and live events. The YugaPlus team has mastered the art of scaling in the cloud, building a service that handles user traffic with low latency across multiple regions and tolerates all sorts of possible outages.
However, maintaining such a platform was not a trivial task. The engineering and infrastructure teams were spending a significant portion of their time just to keep the streaming platform running, secure, and up-to-date.
Eventually, the YugaPlus team found a way to spend more time on innovation. They transitioned to YugabyteDB Aeon, a DBaaS (Database-as-a-Service) that allowed them to offload the management, maintenance, and operations of their database cluster...
In this chapter, you'll learn how to do the following:
- Deploy a free YugabyteDB Aeon instance.
- Connect the application to the YugabyteDB Aeon cluster.
Prerequisites
You need to complete Chapter 4 of the tutorial before proceeding to this one.
Start YugabyteDB Aeon cluster
YugabyteDB Aeon is a fully managed YugabyteDB-as-a-Service that allows you to run YugabyteDB clusters on Amazon Web Services (AWS), Microsoft Azure, and Google Cloud Platform (GCP). The service offers a free sandbox cluster for everyone wishing to use YugabyteDB in a real cloud environment.
Follow these steps to deploy a free YugabyteDB Aeon instance:
-
Create a YugabyteDB Aeon account: https://cloud.yugabyte.com/signup
-
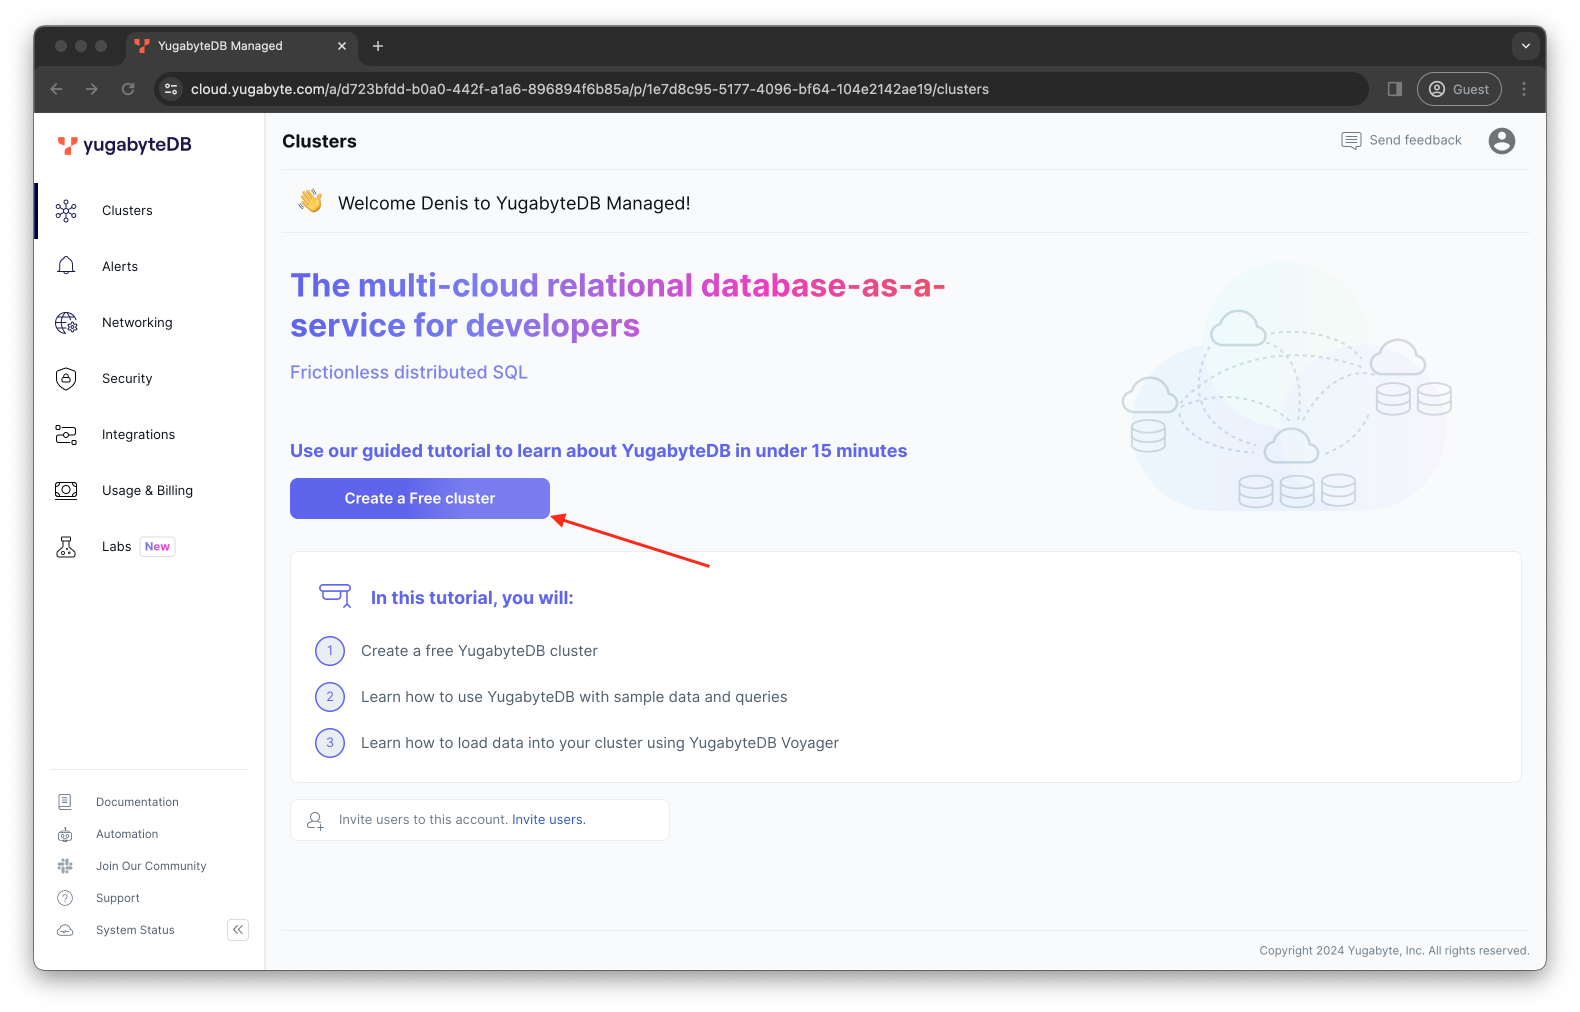
Begin creating the free cluster by clicking on the Create a Free cluster button.
-
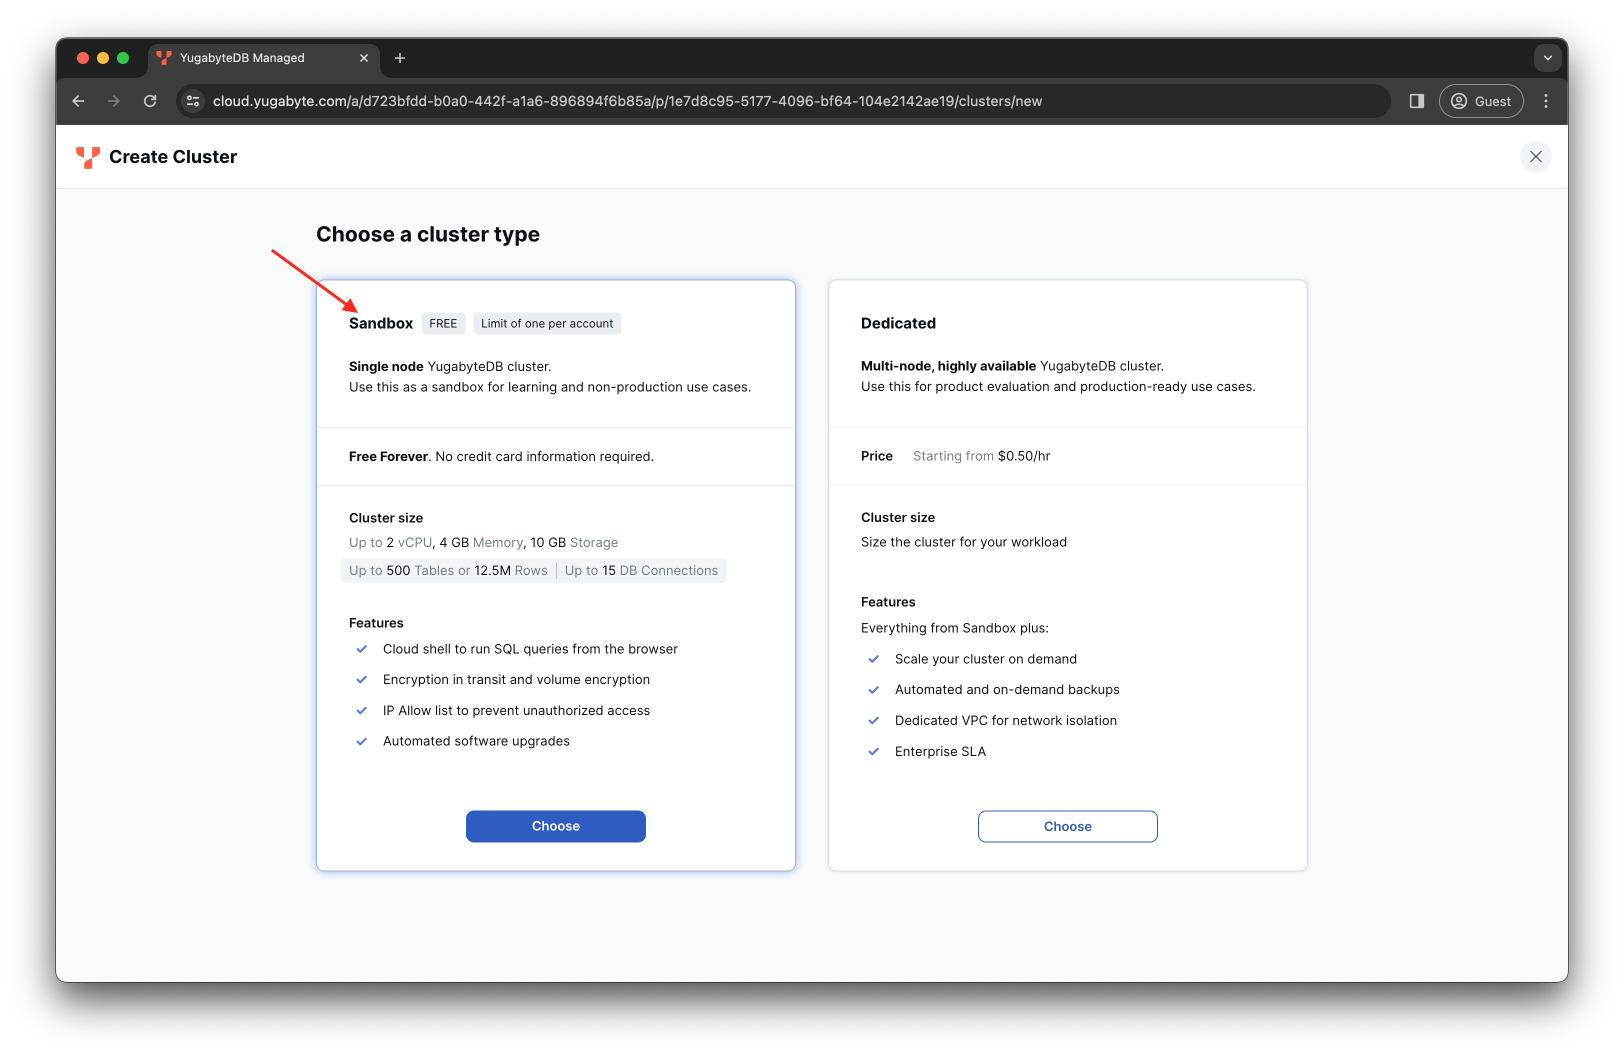
Choose the Sandbox cluster option:
-
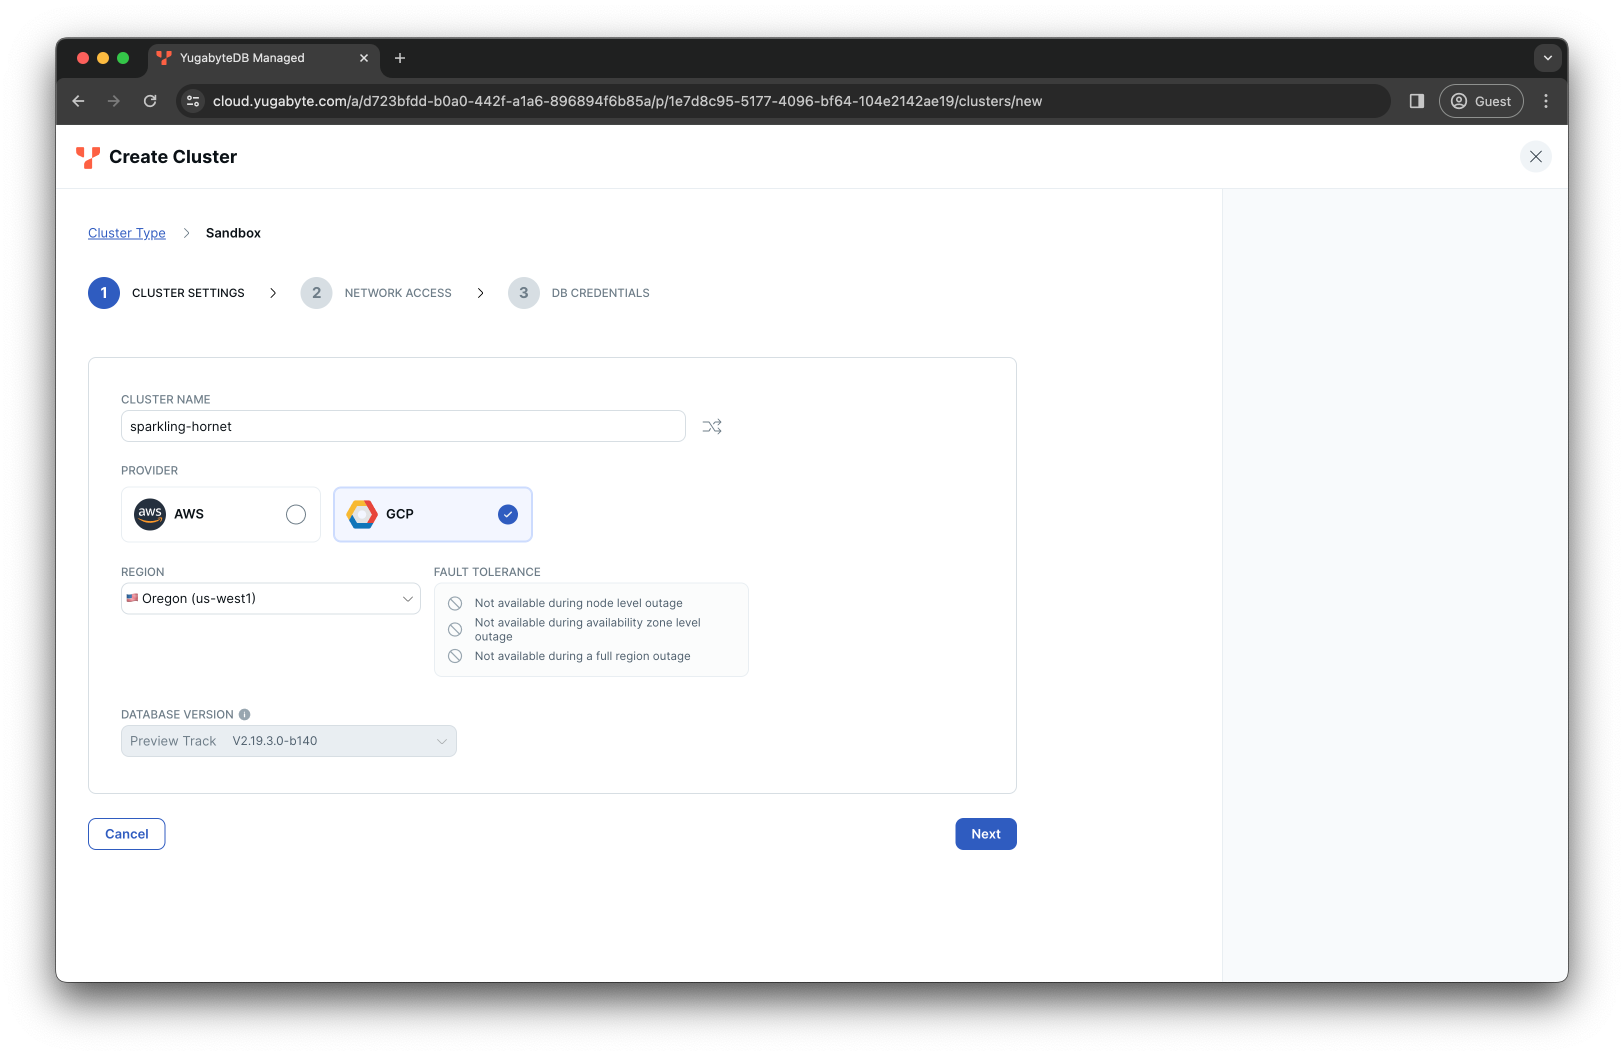
Select a preferred cloud provider and region (note, Microsoft Azure is available only for paid clusters):
-
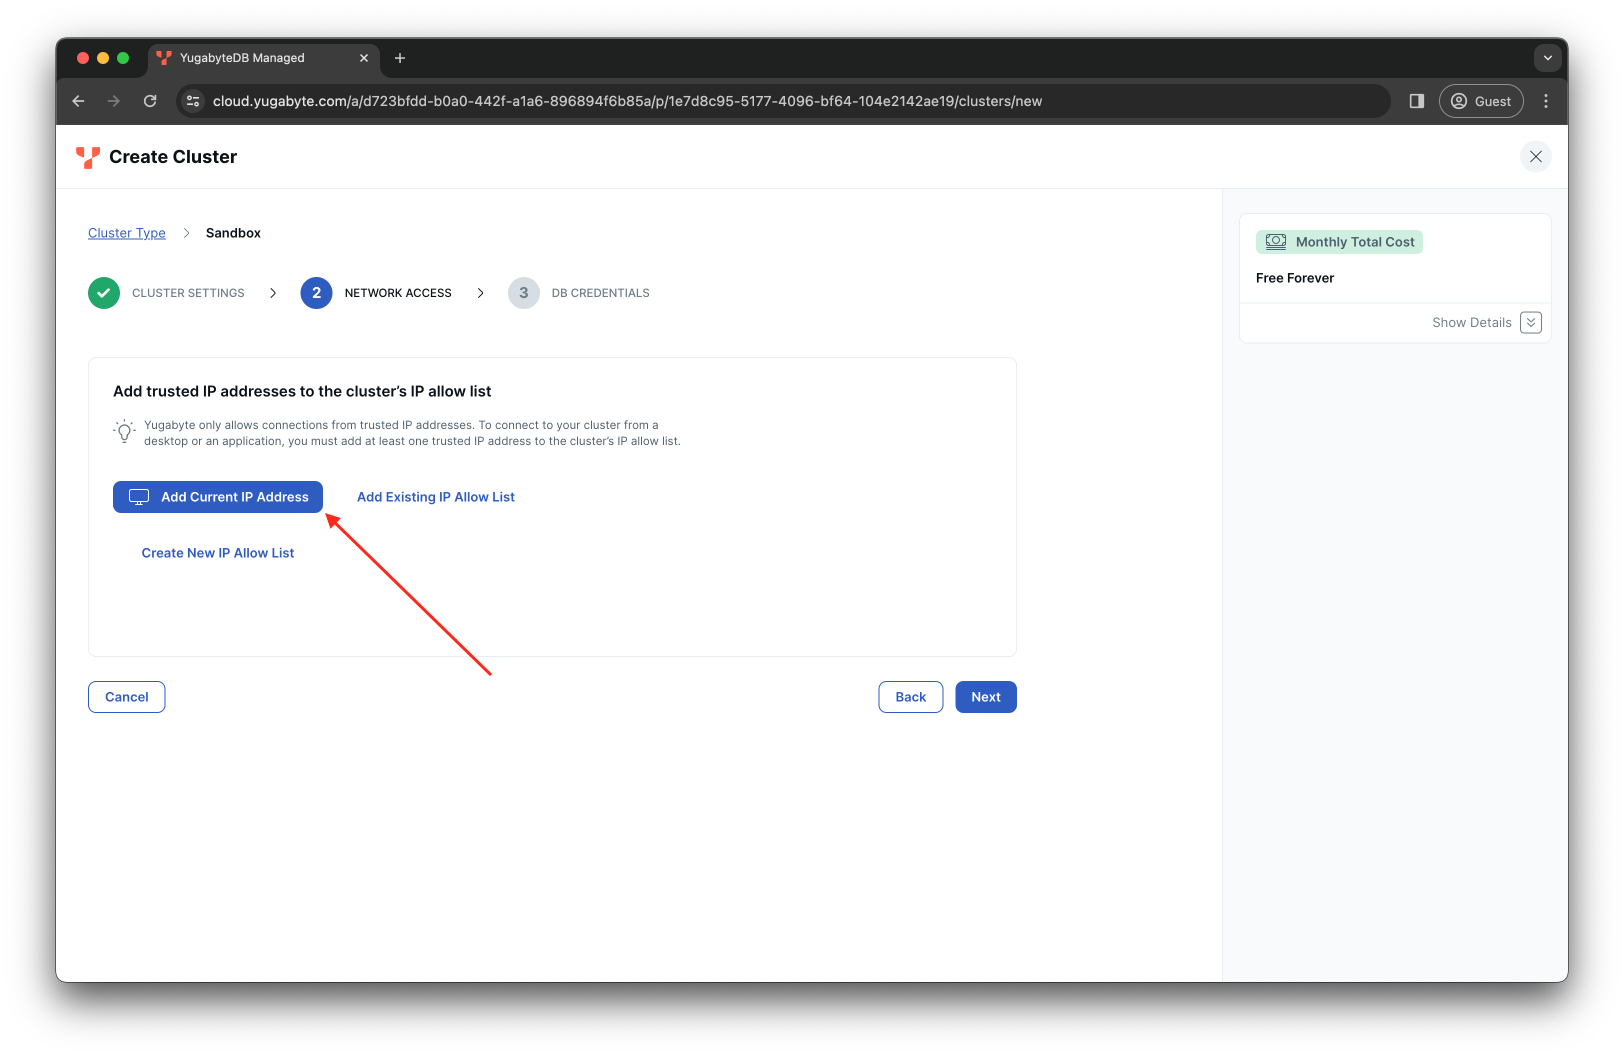
Click on the Add Current IP Address button to add the address of your machine (where you run the YugaPlus application) to the IP Allow list:
-
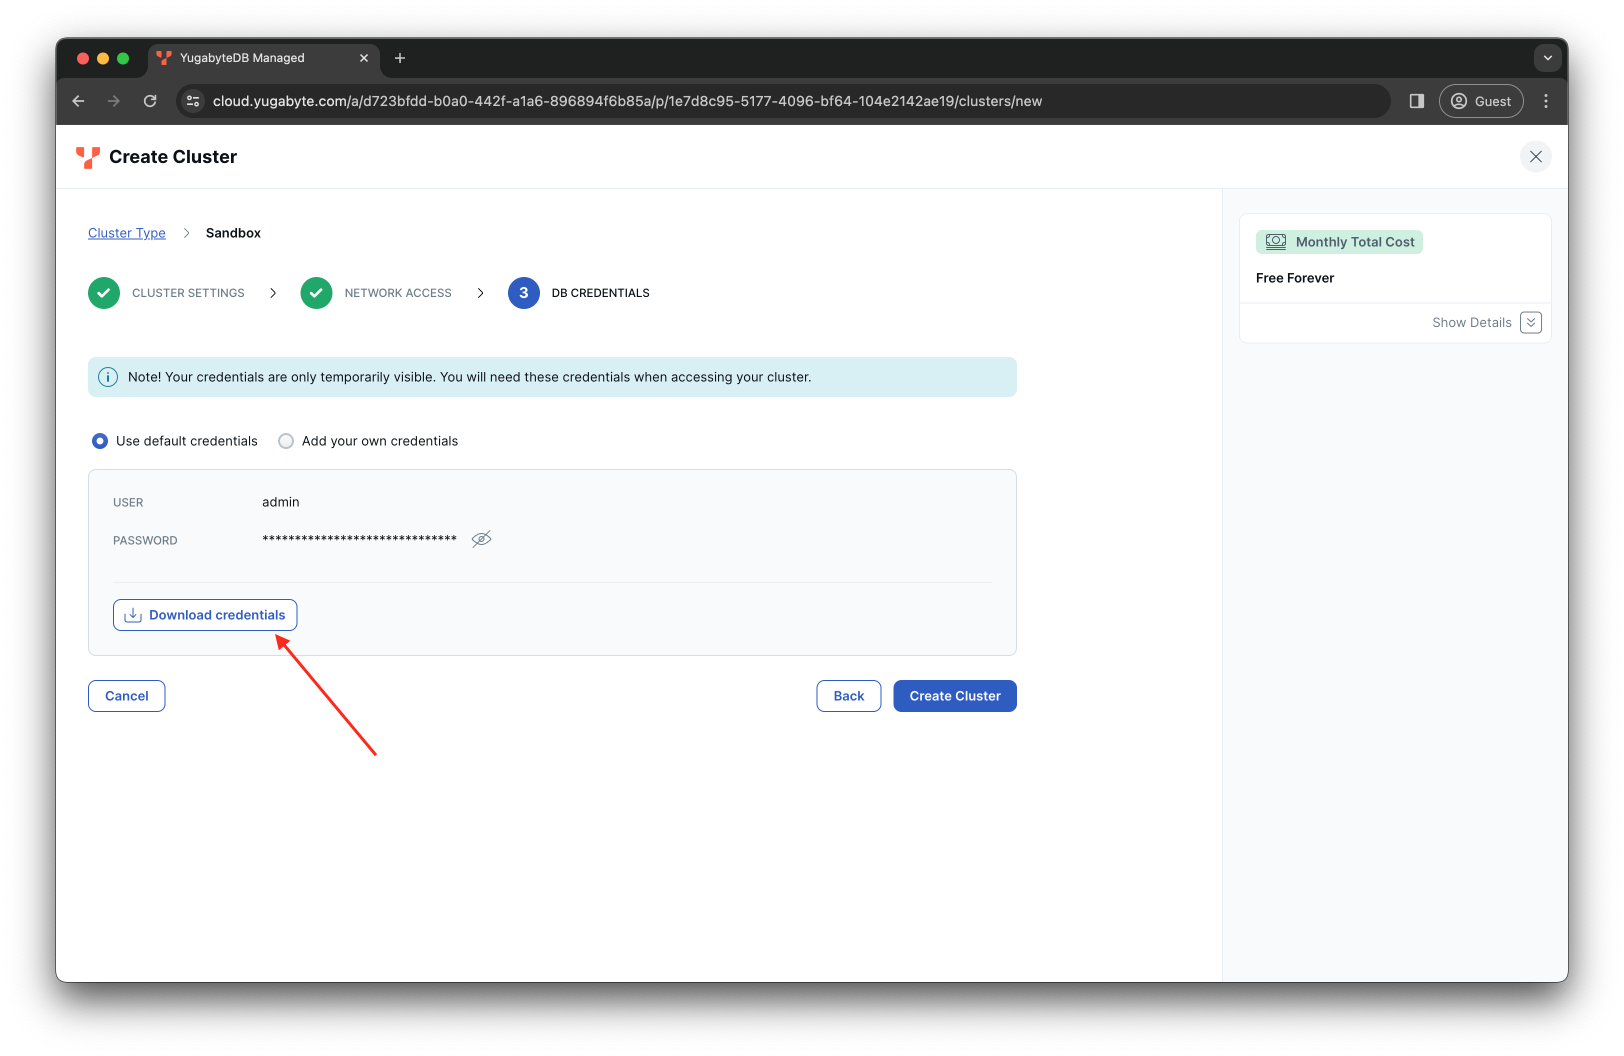
Make sure to download the file with your cluster credentials:
-
Wait while the cluster is being created:
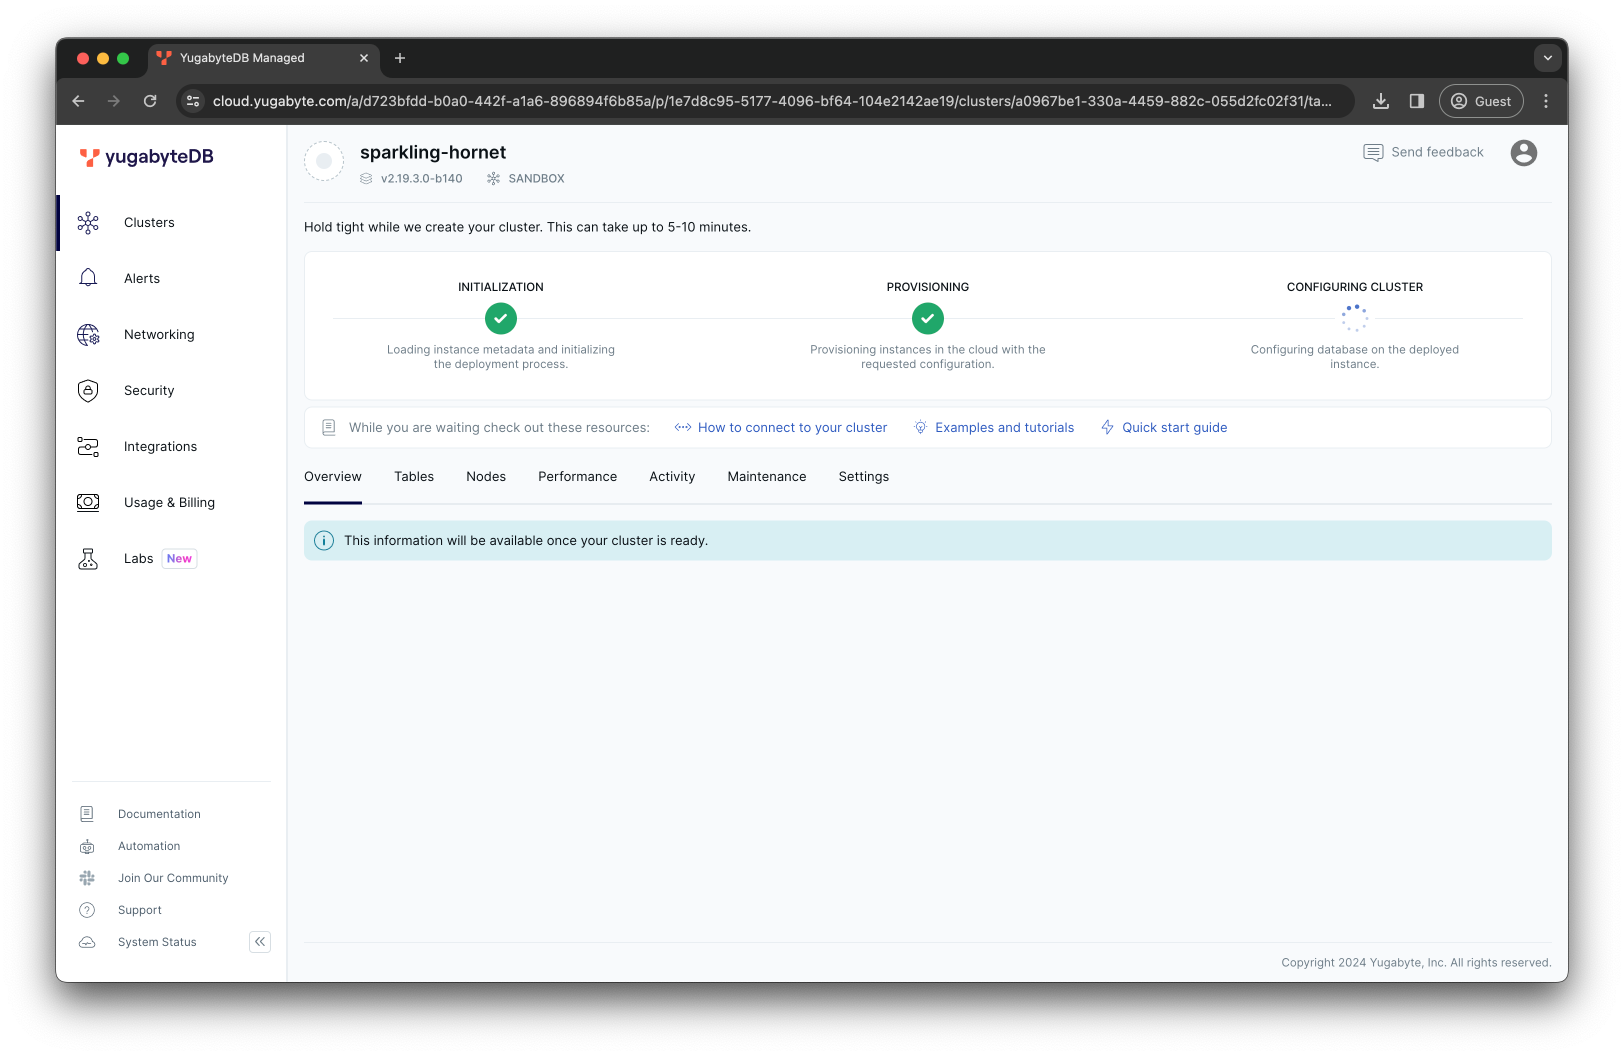
Spinning up and configuring your sandbox instance can take up to 5 minutes. During this time, the system is preparing everything you need to get started with your YugabyteDB Aeon instance.
Connect the application to YugabyteDB Aeon
After the YugabyteDB Aeon cluster is started, go ahead and connect the YugaPlus movie recommendations application to it.
First, rebuild the YugaPlus backend image to remove one of the database migration files created in the previous chapter:
-
Use
Ctrl+Cor run{yugaplus-project-dir}/docker-compose stopto stop the YugaPlus application containers. -
Rename the
V2__create_geo_partitioned_user_library.sqlfile toskip_create_geo_partitioned_user_library.sqlmaking sure it's not applied during the database migration phase. The YugabyteDB Aeon sandbox instance can't be used for the geo-partitioning use case that explored in chapter 4.cd {yugaplus-project-dir}/backend/src/main/resources/db/migration/ mv V2__create_geo_partitioned_user_library.sql skip_create_geo_partitioned_user_library.sql -
Navigate to the YugaPlus project dir:
cd {yugaplus-project-dir} -
Rebuild the Docker images:
docker-compose build
Next, start the application connecting to your YugabyteDB Aeon cluster:
-
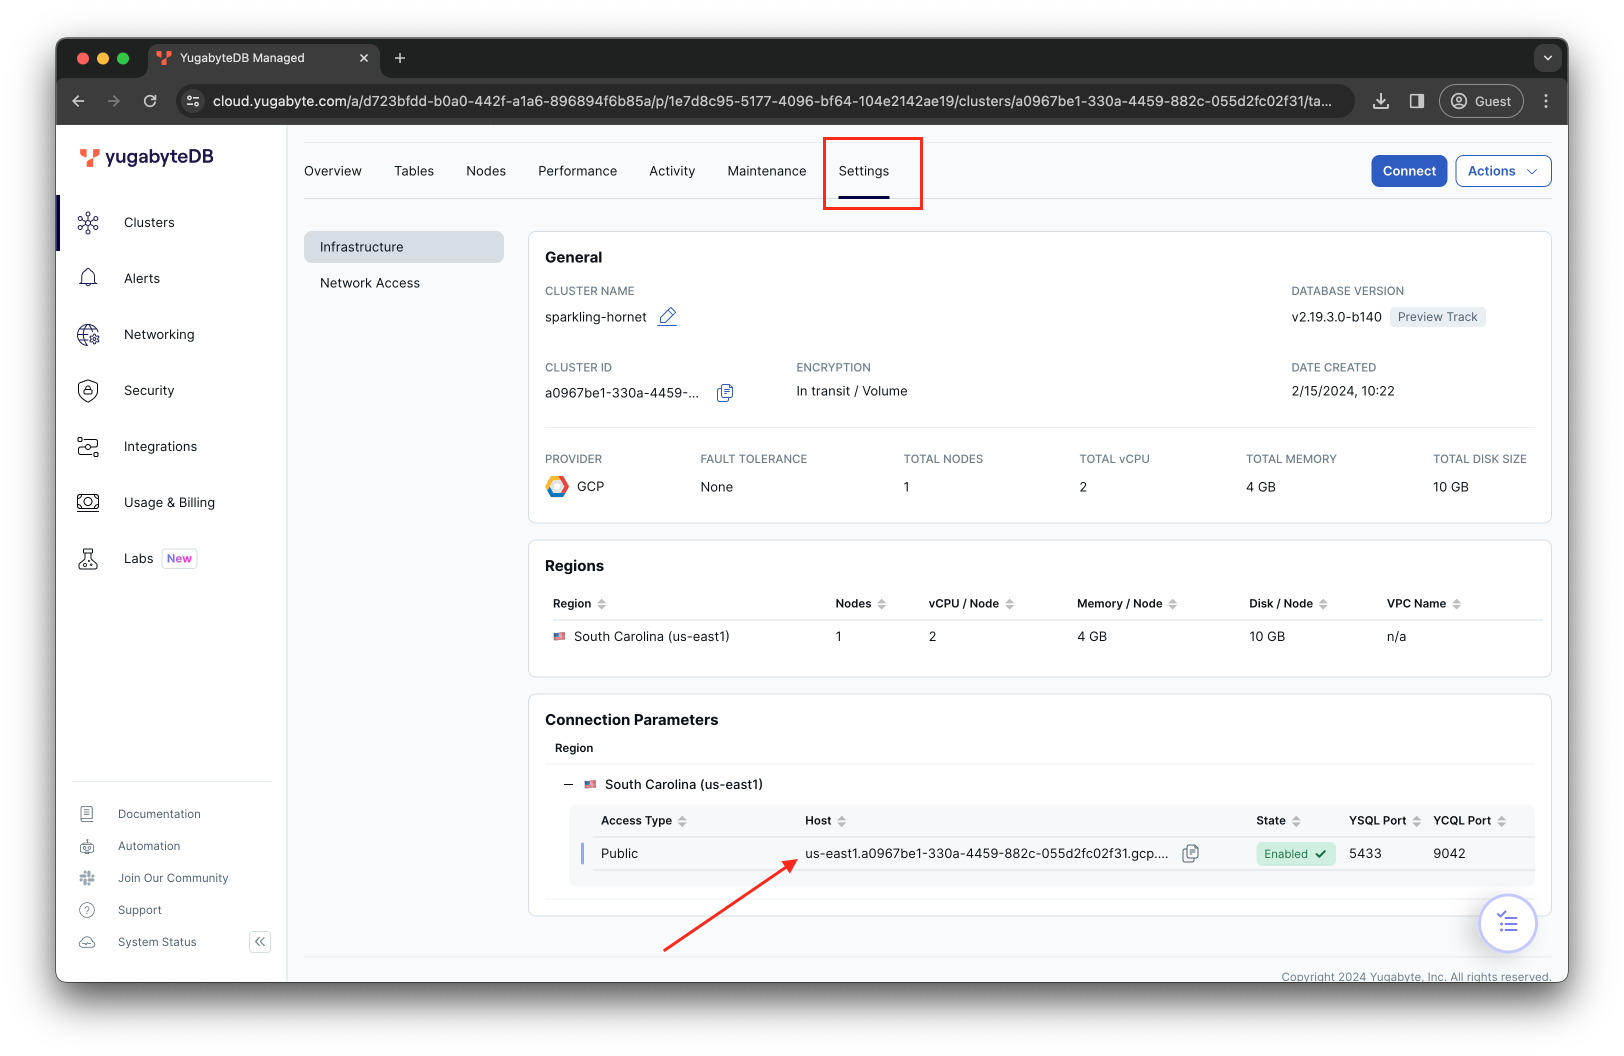
Go to the YugabyteDB Aeon Settings tab and copy the public address of your cluster instance:
-
Open the
{yugaplus-project-dir}/docker-compose.yamlfile and update the following settings:- DB_URL=jdbc:yugabytedb://${YOUR_YBM_PUBLIC_ADDRESS}:5433/yugabyte?sslmode=require - DB_USER=${YOUR_YBM_USER} - DB_PASSWORD=${YOUR_YBM_PASSWORD}${YOUR_YBM_PUBLIC_ADDRESS}- is the public address (host) of your YugabyteDB Aeon instance.${YOUR_YBM_USER}and${YOUR_YBM_PASSWORD}- your database credentials from the file that you downloaded during the cluster configuration.
-
Start the application:
docker-compose up
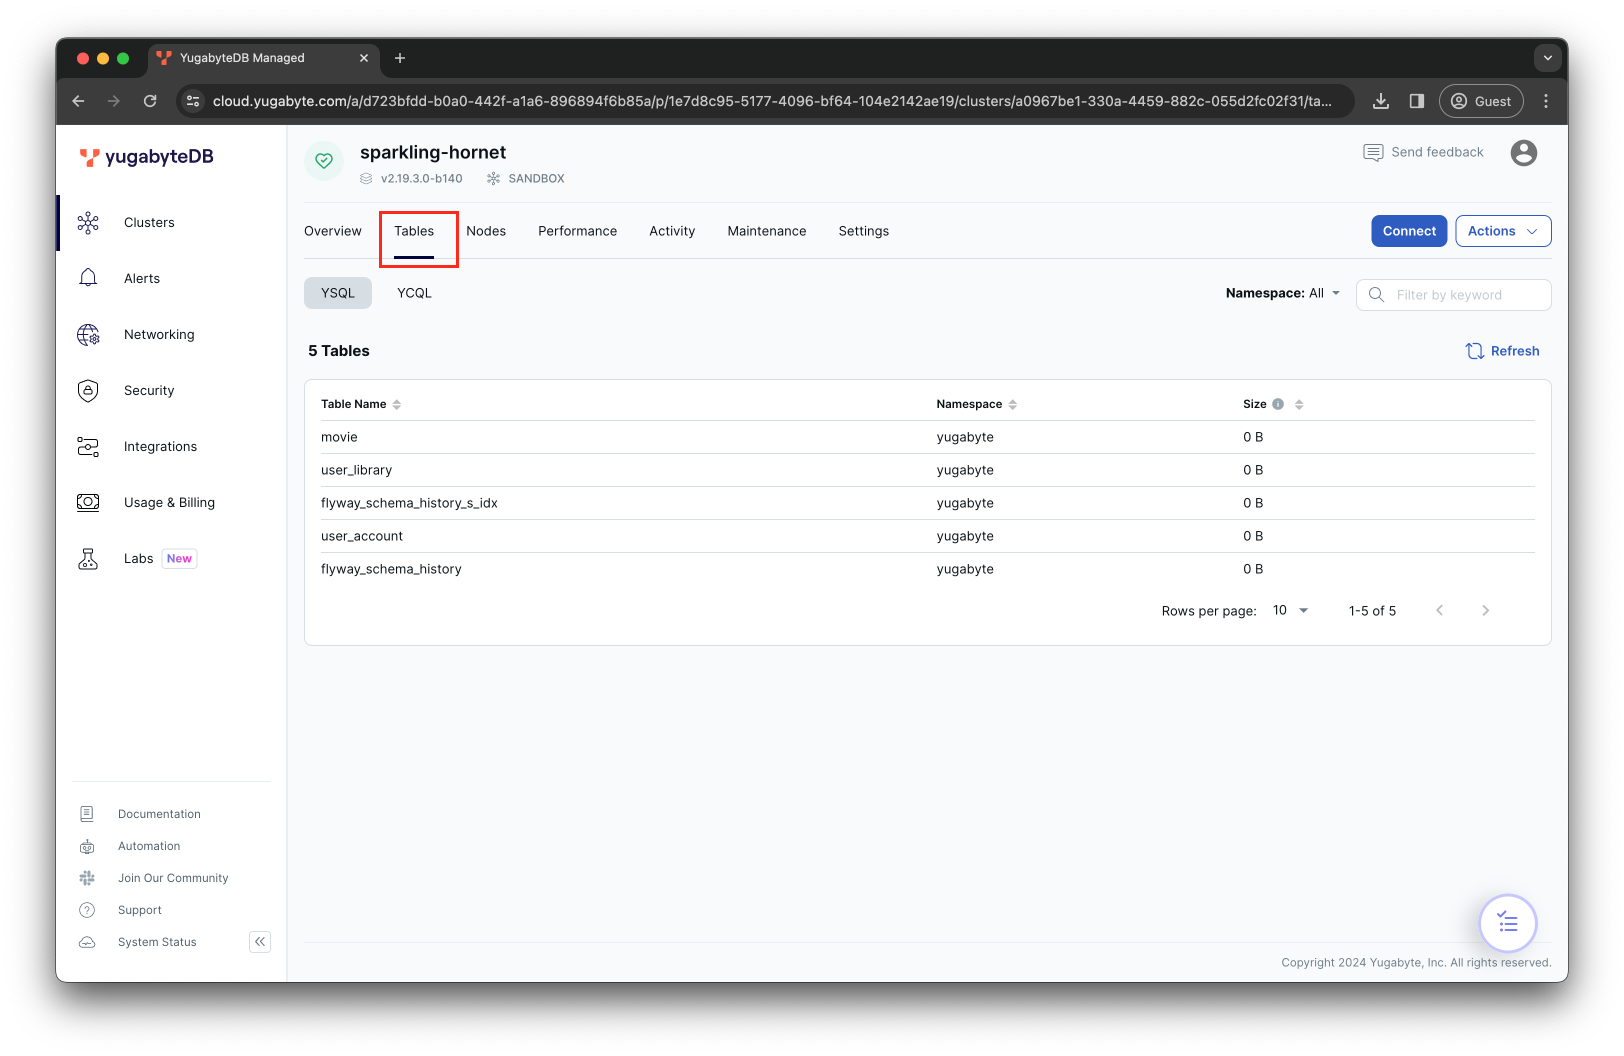
As soon as the yugaplus-backend container starts, it applies the database migration files to your cloud database instance. You can view the created tables in the Tables tab of the YugabyteDB Aeon dashboard.
Can't connect to YugabyteDB Aeon?
If the application fails to connect to YugabyteDB Aeon, ensure you've added your IP address to the IP Allow list.Ask for movie recommendations one last time
With the YugaPlus backend operational and successfully connected to your YugabyteDB Aeon cluster, do one final search for movie recommendations.
-
Go to the YugaPlus UI.
-
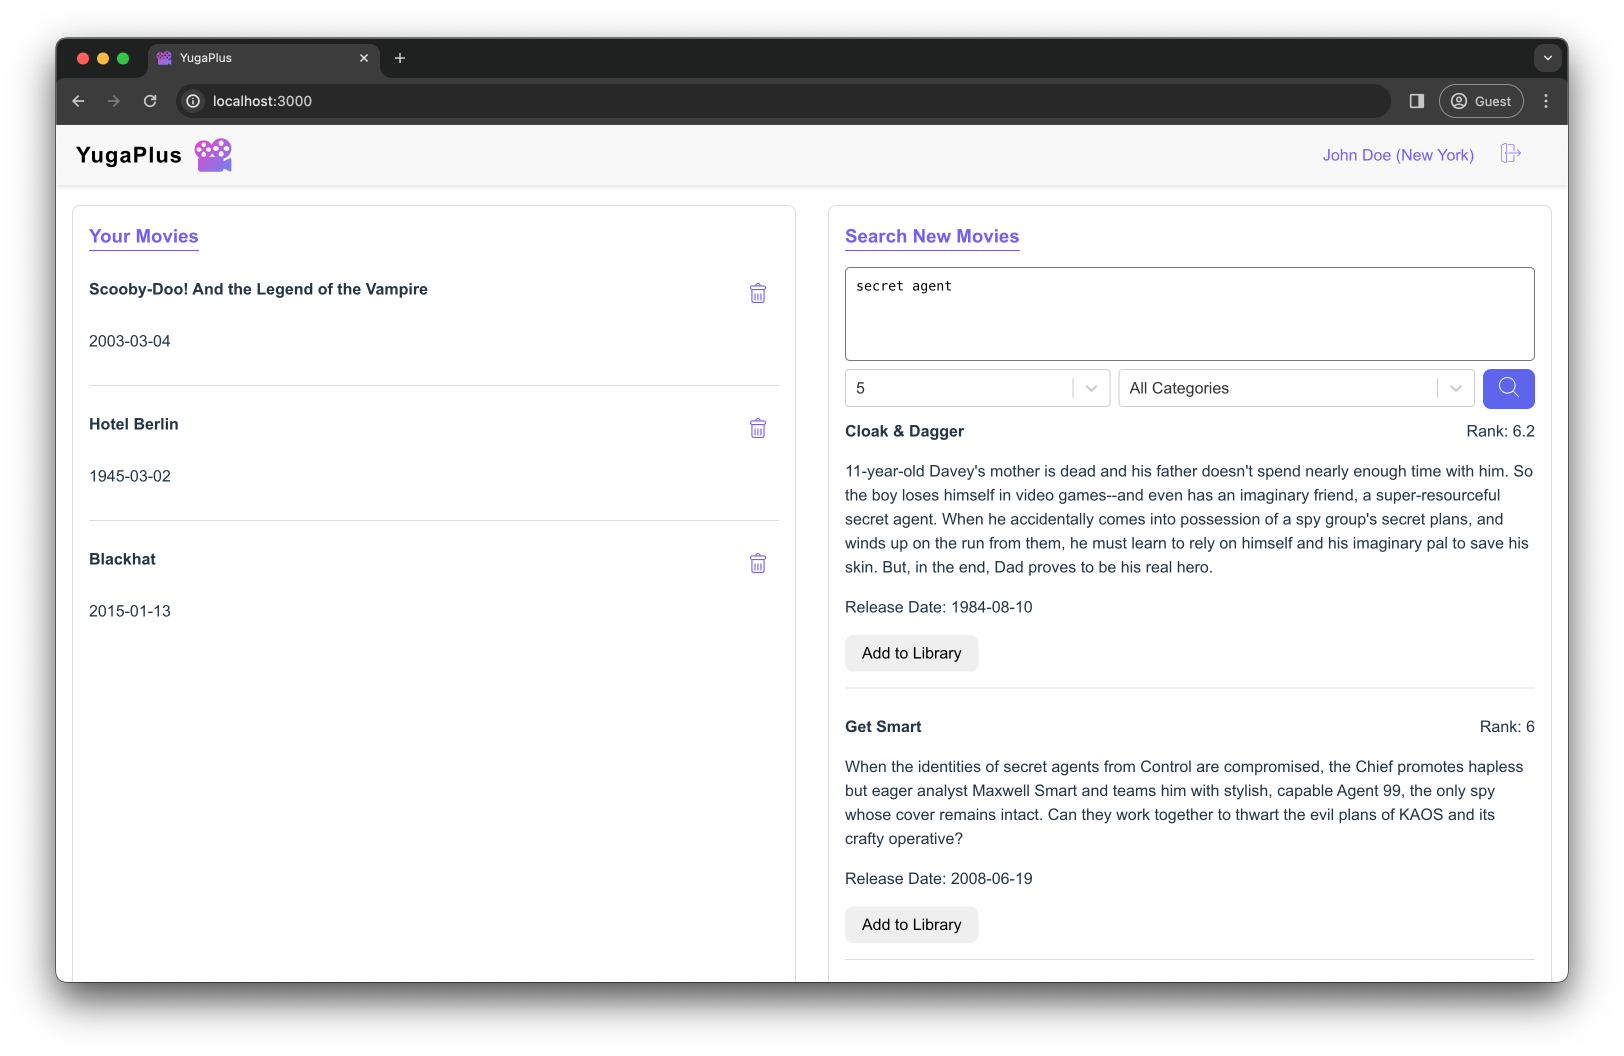
Ask for movie recommendations:
secret agent
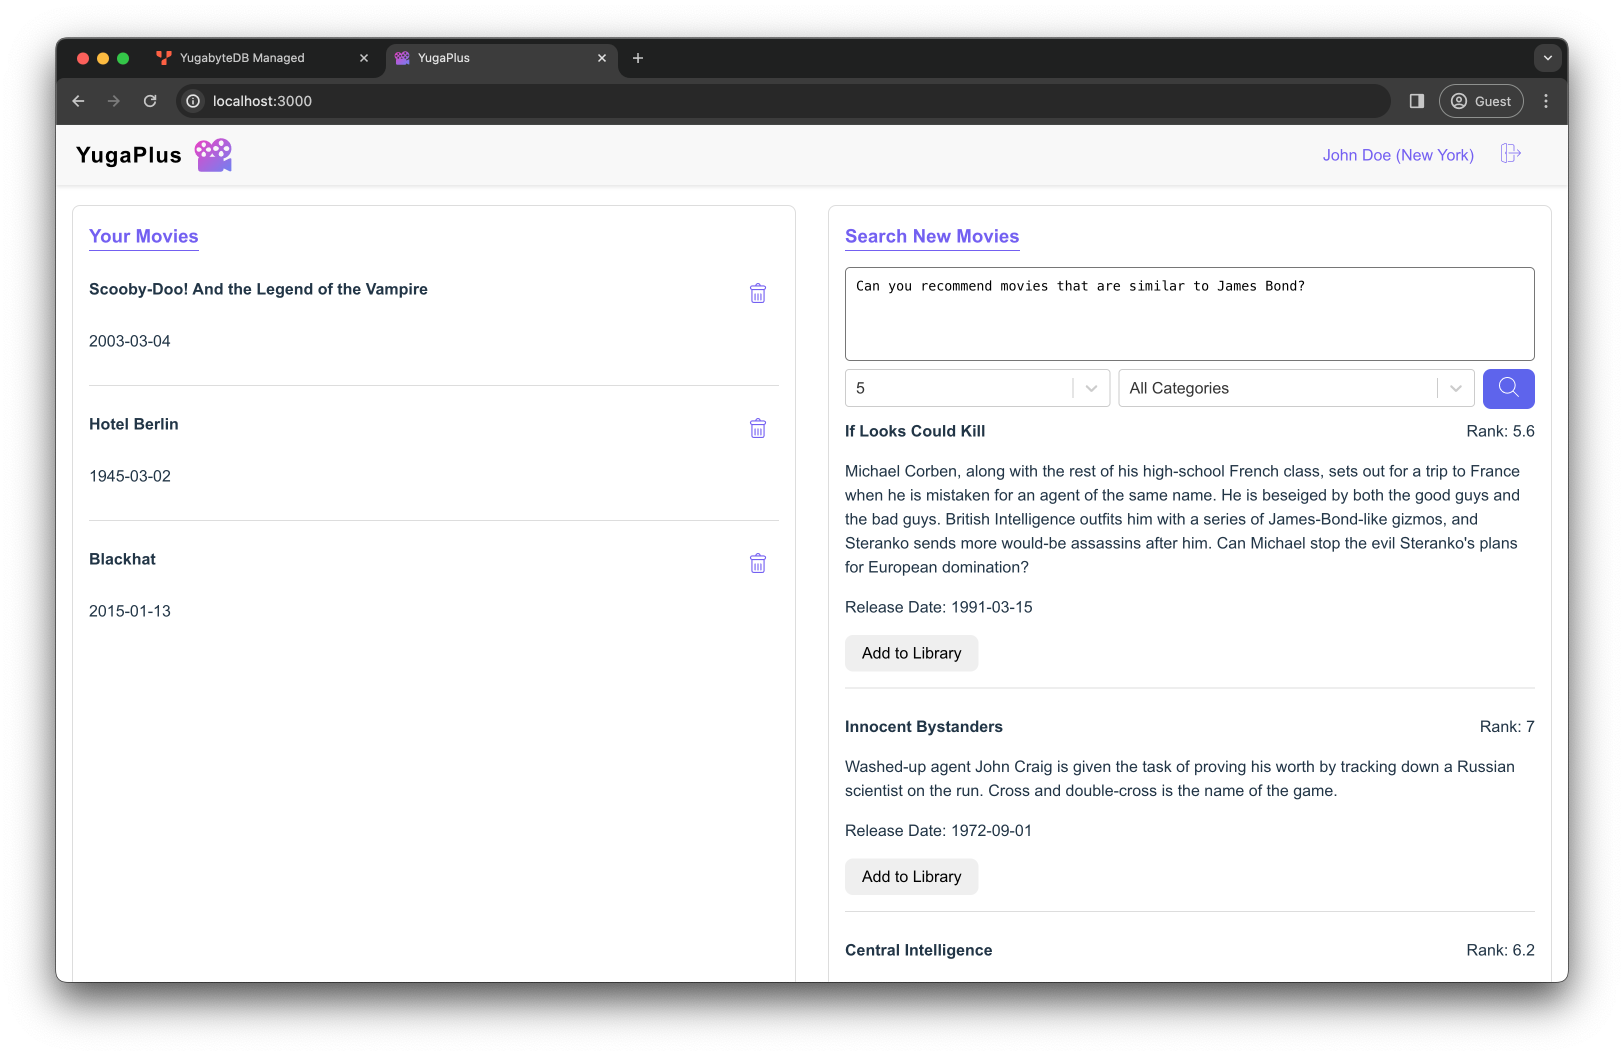
Can you recommend movies that are similar to James Bond?
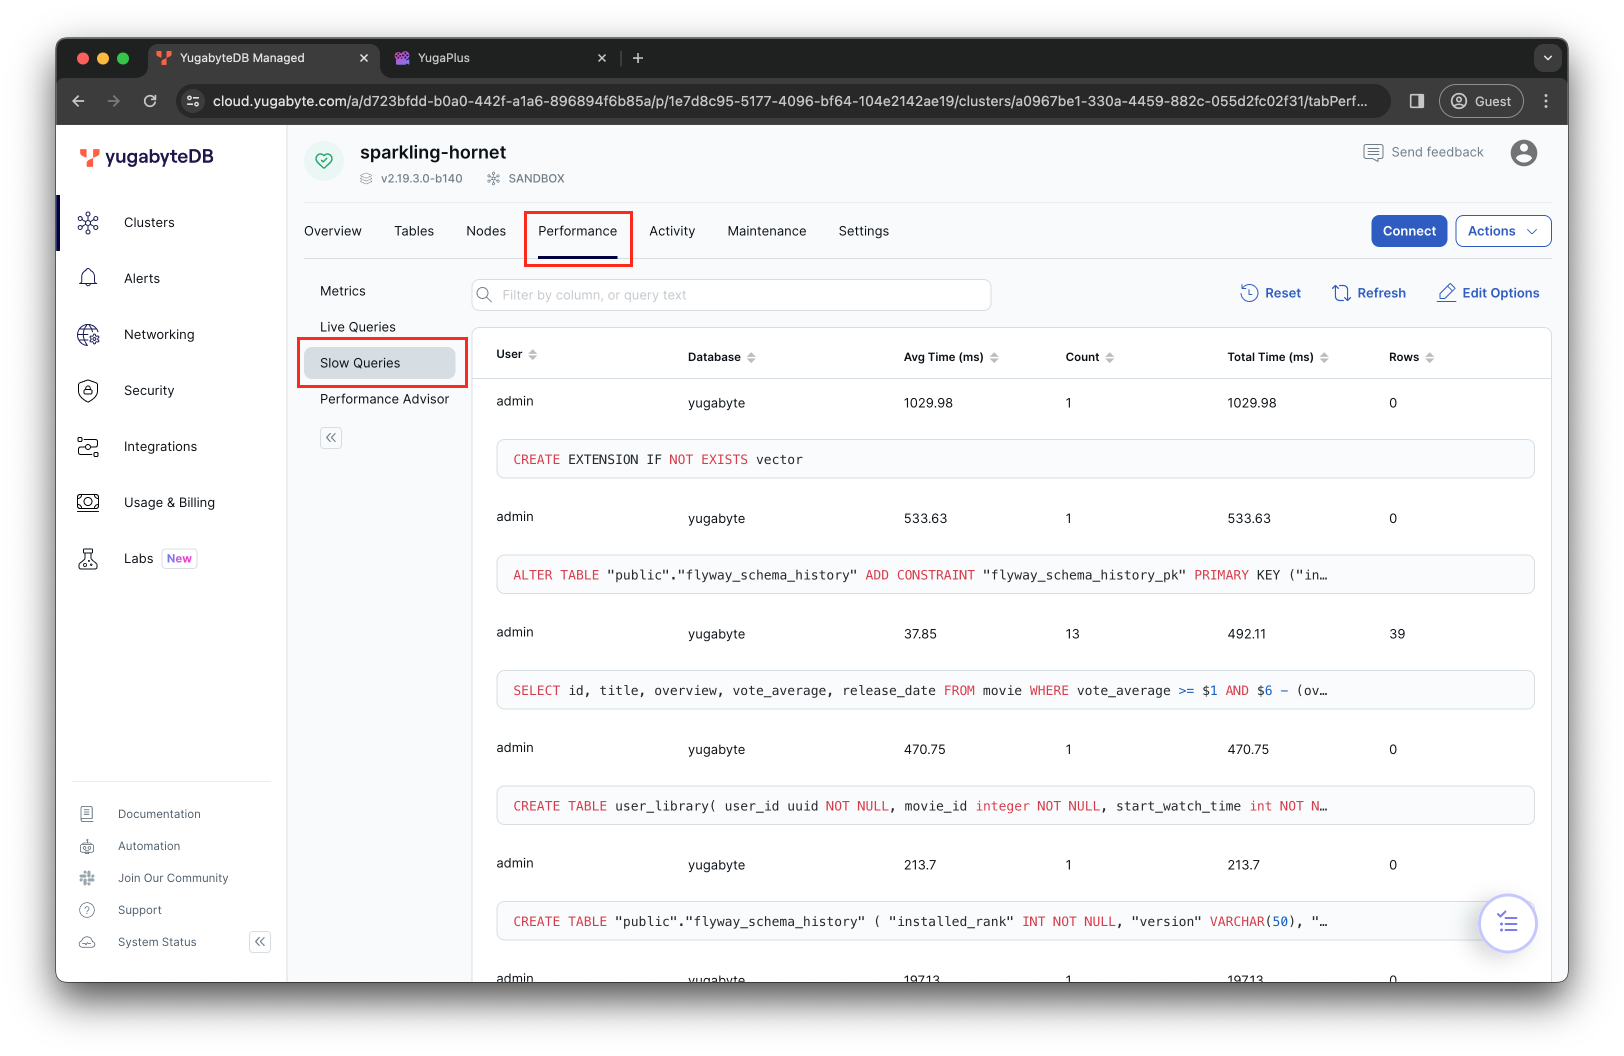
And, as one last hint, if it seems that some queries are running slow, navigate to the Performance -> Slow Queries dashboard of YugabyteDB Aeon to check if any require optimization.
Congratulations! You've completed Chapter 5, the final chapter of the tutorial. Throughout this tutorial, you've learned essential capabilities of YugabyteDB that set you up for the next stage of your development journey.
Let's recap!
- You started with PostgreSQL and then leveraged YugabyteDB's feature and runtime compatibility with PostgreSQL by migrating to a distributed YugabyteDB cluster.
- You learned how to tolerate various outages by deploying a multi-region YugabyteDB cluster and using the YugabyteDB smart driver.
- You used the latency-optimized geo-partitioning design pattern to scale both reads and writes across various locations.
- You learned how to offload the management and operations of your database cluster by migrating to YugabyteDB Aeon.
With that said, good luck building applications that scale and never fail! And don't forget to join our community, where you can get your questions answered and learn about the latest updates from the world of YugabyteDB.